Connect the Local or Network Scanners
Last Updated: Version R2510To connect to a local, USB or network Ricoh scanner, you require the following applications and drivers. These options are provided within the RICOH IA Scanner Settings screen:
-
Ricoh Web Scanning Service: You must download and install this service to connect to any Ricoh scanners.
-
PaperStream IP (TWAIN): You must download and install either the fi-8040 TWAIN drive (for that model specifically), or the fi-series general TWAIN driver for all other fi scanners. Alternatively, you can visit the Ricoh fi Series Software Downloads webpage to find and download the model-specific driver.
-
Network Setup Tool for fi Series: If the fi series scanner is networked, you must download this option to connect to from within RICOH IA.
You need to perform this task for initial scanner setup only. Once the scanner is connected, you do not have to perform this action again.
Download the Installers
-
On the New Batch screen, click the Gear icon
 to open the Scanner Settings screen.
 -
On the Choose System step, look for the Select Scanner option, and click the question icon to open the Scanner Setup screen.

-
In the Scanner Setup screen, select your Operating System, and Windows version. Click Next after making selections.
Operating System Supported Versions Windows -
Windows 64-bit (x64)
-
Windows 32-bit (x86)
If you aren't sure of the Windows version you are running, follow the on-screen instructions to check before proceeding.
Linux -
win64
MacOS -
N/A
-
-
On the Download and Install step choose the software to download. Download links are available in blue text:
-
Ricoh Web Scanning Service: Download this option for all Ricoh scanners. Refer to Install the Ricoh Web Scanning Service below for instructions.
-
PaperStream IP (TWAIN): Separate downloads links are provided for the fi-8040 only, and another for all other fi-series document scanners. For instructions, refer to PaperStream IP (TWAIN x64) 3.36.0 or PaperStream IP (TWAIN x64) 3.30.0.
-
Network Setup Tool for fi Series: If the fi series model is networked, also download and install this option to connect. For instructions, refer to Network Setup Tool for fi Series 3.4.0.
-
-
After saving the downloaded file(s), proceed to run the installer. Leave this screen open in RICOH IA. Do not click Next until you have completed the installs.
Install the Ricoh Web Scanning Service
Once downloaded, open the installer. Click Next between screens to proceed through the installation.
-
Proceed past the Welcome screen.
-
Browse to the location where you want to install the service. By default, the service installs to Program Files (xx)\Ricoh\Ricoh.WebScanning\. If installing for all users who share the computer, select Everyone; otherwise, select Just Me. The default option is Just Me.
-
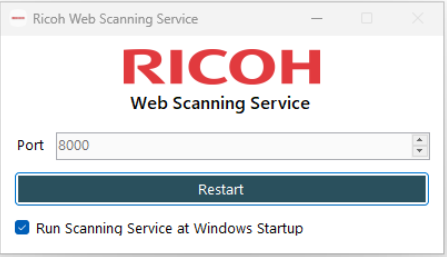
Click Next to start the installation. Click Close once the install is complete. The service is added to the system tray, but you can view the running Web Scanning Service application window (as shown below) at any time.
If the scanner is connected via network, you must also download, install, and connect to the scanner using the Network Setup Tool.
Install the Network Setup Tool
Download the installer from the provided link on screen.
-
Run the installer as Administrator.
-
Accept the license agreement and click Install.
-
The Tool opens Select the connection method: USB (if connected via USB cable) or Network (if available via LAN). Click Connect.
-
Use the search options to locate the scanner based on IPv4, IPv6, specific IP address or device name. For help or troubleshooting using this tool, open the Online Help installed by default c:\Program Files\PaperStream IP\NWSettingTool\Help.
-
After the scanner is located successfully, close the Network Setup Tool.
Return to the Scanner Setup in RICOH IA
-
Return to the Scanner Setup screen in RICOH IA that you left open. Click Next.
-
On the Connect & Test step, click the drop-down and select a scanner from the Select Scanner field. If the scanner does not appear in the list, check the scanner power source first. Ensure the port is also set correctly (the default port is 8000).
-
Click Finish to close the setup screen.