Example: Create a Batch Type with AI Data Classification
Last Updated: Version R2510This example shows the end-to-process required to configure a batch type that classifies data based on a trained AI model. The example steps through creation of separation profile, and batch type, and then demonstrates how an Operator would run a batch using this Batch Type.
Prerequisites
The following prerequisites must be completed to enable this example:
-
An Integration (Natif or Azure) has been added to RICOH IA.
-
An AI workflow for Data extraction has been added to RICOH IA.
-
A custom classification AI workflow as been created and trained.
Only users with Designer access level can create or edit Batch Types.
Process
This example is completed in three steps. Follow the steps below in their entirety to create a separate profile, create and the batch type, and then run though a data classification batch type scan.
1. Create a Separation Profile
1. Create a Separation Profile
Follow these steps to create a separation profile that will be used within the Batch Type.
It is possible to enable AI Classification without creating a separation profile. To do so, can enable Use AI Classification within Document Settings when creating a Batch. Both methods are valid, but this method is demonstrated for ease of understanding the end-to-end process.
-
Choose Settings.
-
Click Separation Profiles.
-
Click Create New Profile. Enter the following:
-
Enter a unique Profile Name.
-
Document Separation Type: choose any type. To use AI, select AI Separation. In this example, Manual is applied.
-
Classification Settings: Select Use AI Classification.
-
-
Click Create New Profile.
2. Create the Batch Type
-
Choose Settings.
-
Choose Batch Type Library.
-
Click Create New Batch Type.
-
Enter a unique name in the Batch type name field.
-
From the Separation Profile list, choose the profile you created above.
-
In the Batch Naming field, click the + symbol to establish a combination of system values, global or batch variables, business rules or batch fields to create a naming convention for scanned documents using this Batch Type. For example, you might select the 'Date time' and 'Batch type' system variables to form the name of the batch.

-
Add the users who can use this Batch Type. Only users added here will be able to see the Batch Type in their New Batch screen.
Ensure you add yourself as a user - otherwise, you will not be able to test this Batch Type in Step 2 below.
-
Under 'Documents in this Batch', click Add Documentand then choose Manual Indexing from the sublist.
-
The Document Settings screen opens.
-
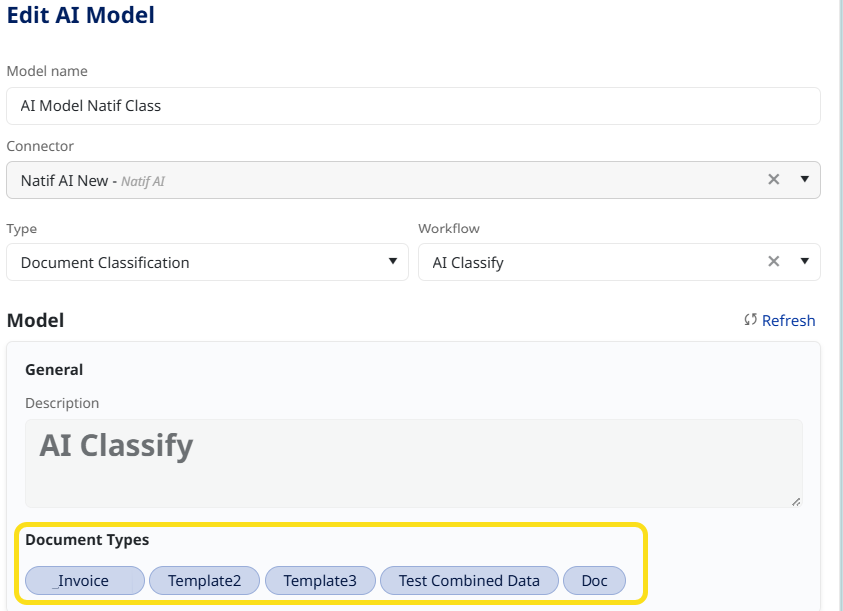
Name the document with the same name as the class/document type retrieved from AI.
To verify the list of class/document types, open the AI Model Library, locate the model and click Edit. The Document Types are listed at the bottom of the screen, as shown below.
-
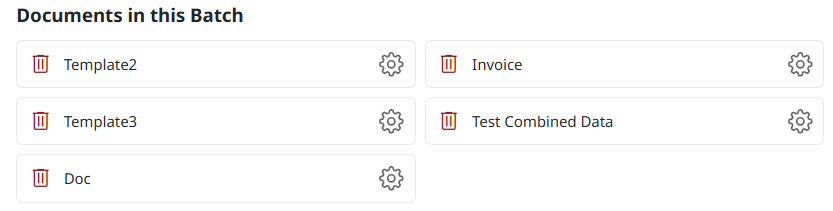
You must create 1 document for each document type. For the example above, 5 different document types must be created (Invoice, Template2, Template3, Test Combined Data, Doc) As a best practice, you can create a document type called "Others" that can be used for document that does not match the assigned document types.
-
Click OK to close the screen and return to the Create New Batch Type screen.
-
Click +Add Document again to repeat the process for all document types within the AI model. Repeat as many time as necessary.
-
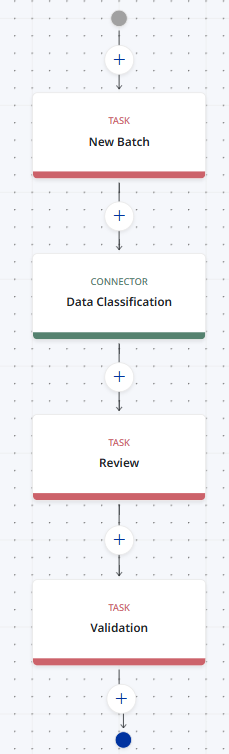
Under 'Process Flow', click anywhere in the Process Flow field to configure a flow. In the Configure Process Flow screen, you determine the stages the documents will progress through.
Normally, the document progresses through the following stages: New Batch, Review, Validation, Confirmation, and Routing. However, this example focuses on using the Data Classification AI only. The flow should look like the example shown here to the right.
-
Drag the Task box to the first plus button and then input the following:
-
Name: "New"
-
Type: New Batch
-
Do not check 'Offline Scanning and Upload'. Checking this requires that you install a web scanning service on your PC. If checked without the web scanning, scanning a document to your batch will remain in processing status for a long time.
-
Documents Options: Check all of them.
-
Assigned users & group: Ensure you assign the correct users. If the user account is not assigned here, then the user cannot create a batch.
-
Under 'AI Create Batch', choose the AI Classification Model you want to use.
-
Click OK to close the Task.
-
-
Drag the Connector box to the plus button and input the following:
-
Name: Data Classification
-
Service: Data Classification
-
Click OK to close the Connector.
-
Choose the AI Classification model from the list.
-
-
Drag another Task box to the plus button below the task you just created and input the following:
-
Name: "Review"
-
Type: Review
-
Documents Options: Check all of them.
-
Assigned users & group: Ensure you assign the correct users. If the user account is not assigned here, then the user cannot review the document.
-
Click OK to close the Task.
-
-
Drag another Task box to the plus button below the Connector you created and then input the following:
-
Name: "Validate"
-
Type: Validation
-
Documents Options: Check all of them.
-
Assigned users & group: Ensure you assign the correct users. If the user account is not assigned here, then the user cannot validate the document. For AI data extraction, this step is important because the extracted values are displayed on this stage. The user has the option to modify the data.
-
Click OK to close the Task.
-
-
(Optional - add only if you need a final Confirmation step) Drag the Task box to the plus button and input the following:
-
Name: "Confirm"
-
Type: Confirmation
-
Assigned users & group: Ensure you assign the correct users. If the user account is not assigned here, then the user cannot confirm the document.
-
Click OK to close the Task.
-
-
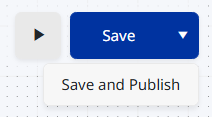
Click the drop-down arrow beside Save, and then select Save and Publish.
-
-
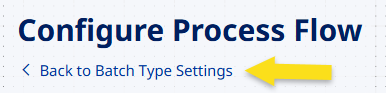
To return to the Batch Type Creation screen, click the Back to Batch Type Settings link.
-
Once back in the Batch Type screen, confirm all selections, and then click the "Create Batch Type" button to save the full configuration.
3. Classify the Document
This part of the process steps you through processing a document with the Batch Type you just created.
-
In the New Batch screen, select the batch you just created that contains the AI data classification as the document type.
You will only see this batch type if you assigned yourself as a user or group to the batch type when you created it above.
-
If you did NOT create a separation profile in step 1 above, you can click the Gear icon
 , and then choose Document Separation, Use AI Classification. Click Save to continue.
 -
Upload or scan a document to match the document type.
-
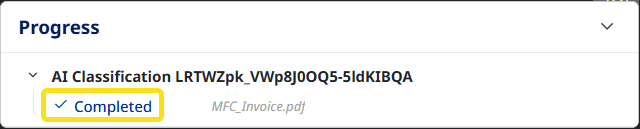
After the document is scanned, click the Completed link under the successfully uploaded document.
-
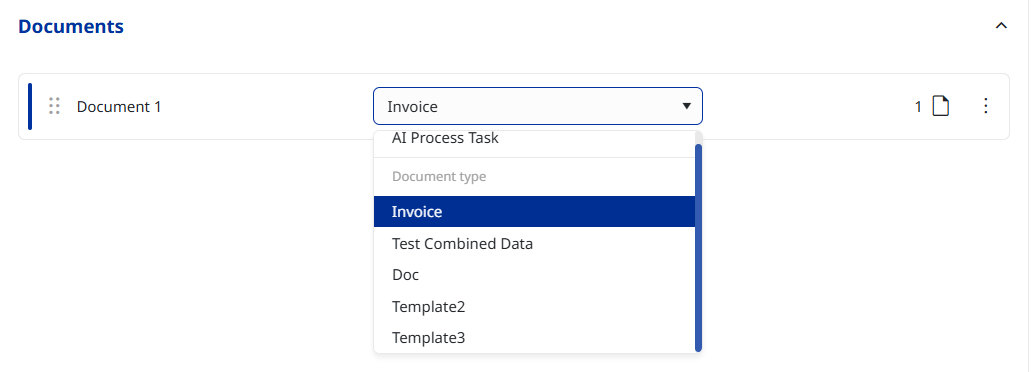
If the document is correctly classified by the AI, the correct Document Type will be selected for you. If not, you can choose the correct type from the list.
-
Click Submit.The Process Flow will move the Batch's stage from "New" to "Review".
-
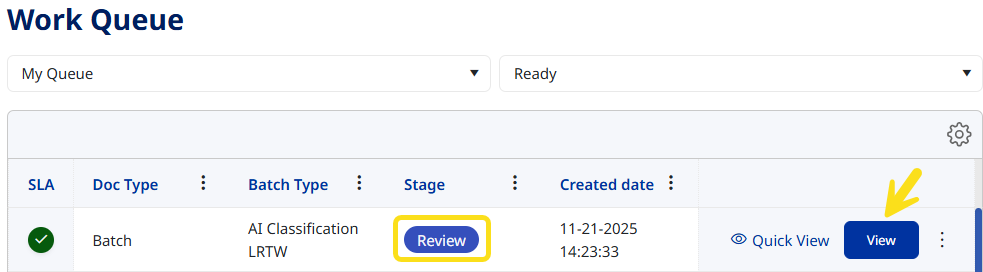
Open the Work Queue screen and locate the batch you just submitted. Click View.
-
Review the contents of the batch and click Submit. By doing this, the Process Flow will move the Batch's stage from "Review" to "Validation".
-
Within the Work Queue look for the batch you just reviewed. It will be displayed as a Validation stage. Click View.
-
If you added the optional Confirmation step to the Process Flow, locate the Confirmation step in the Work Queue, and proceed to submit the batch.